Enrol an individual taxpayer
This part of the guide explains how to enrol an individual taxpayer, link identification documents and add a photo.
Once the enrolment completed, SIGTAS allocates a unique number to the TIN application. This new enrolment is displayed on the page Manage TIN Request (501:7001), waiting to be validated and approved. The status of the request is displayed as Open during the individual enrolment.
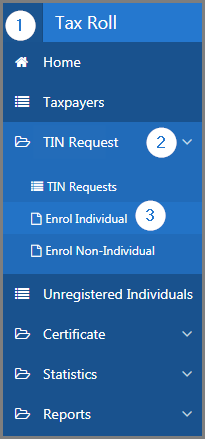
Step 1- Go to the page Enrol individual
- Go to the Tax Roll module;
- Choose the TIN Request option;
- Click the Enrol Individual menu. This action opens the Enrol Individual page (501:7002);
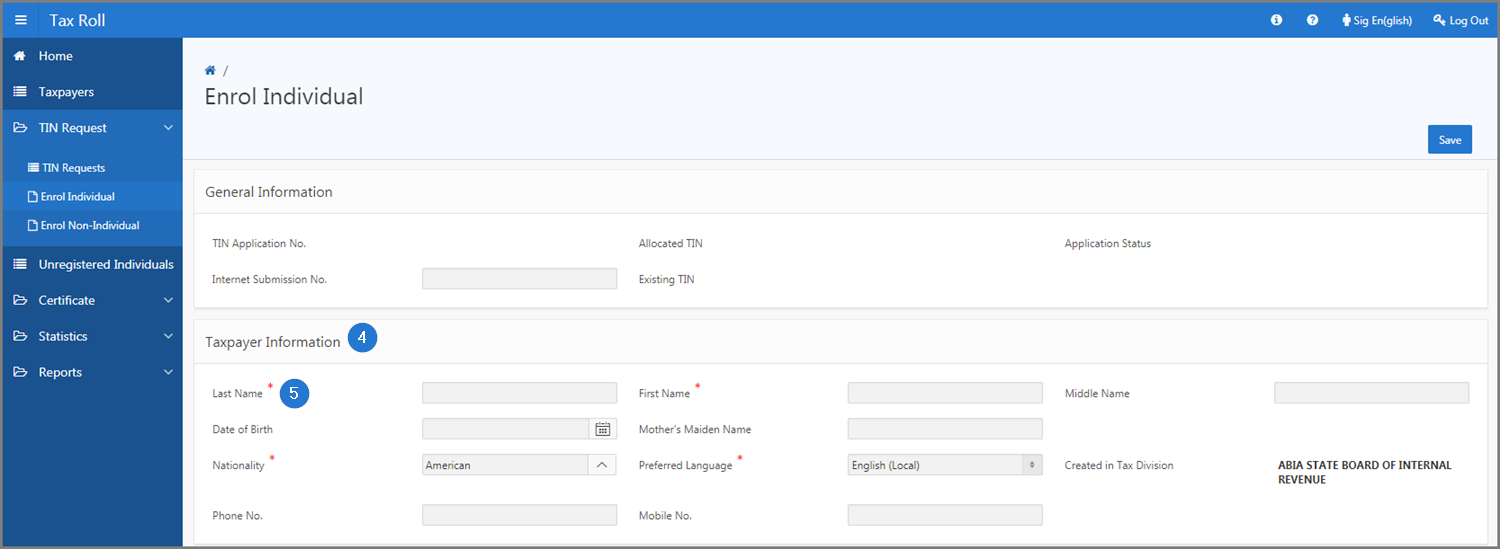
Step 2 - Enter the taxpayer information
- Go to the Taxpayer Information section;
- Fill out the required fields (identified by a red asterisk *). For example, Last Name, First Name, etc.;
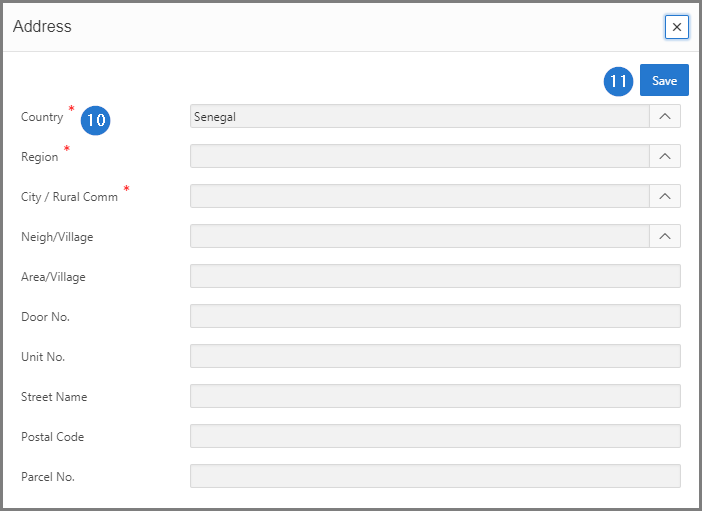
Step 3- Add an address
- Go to the Address section;
- Tick Resident, as applicable;
- Choose the National Address option;
- Click the Edit button. This action opens the pop-up window Address;
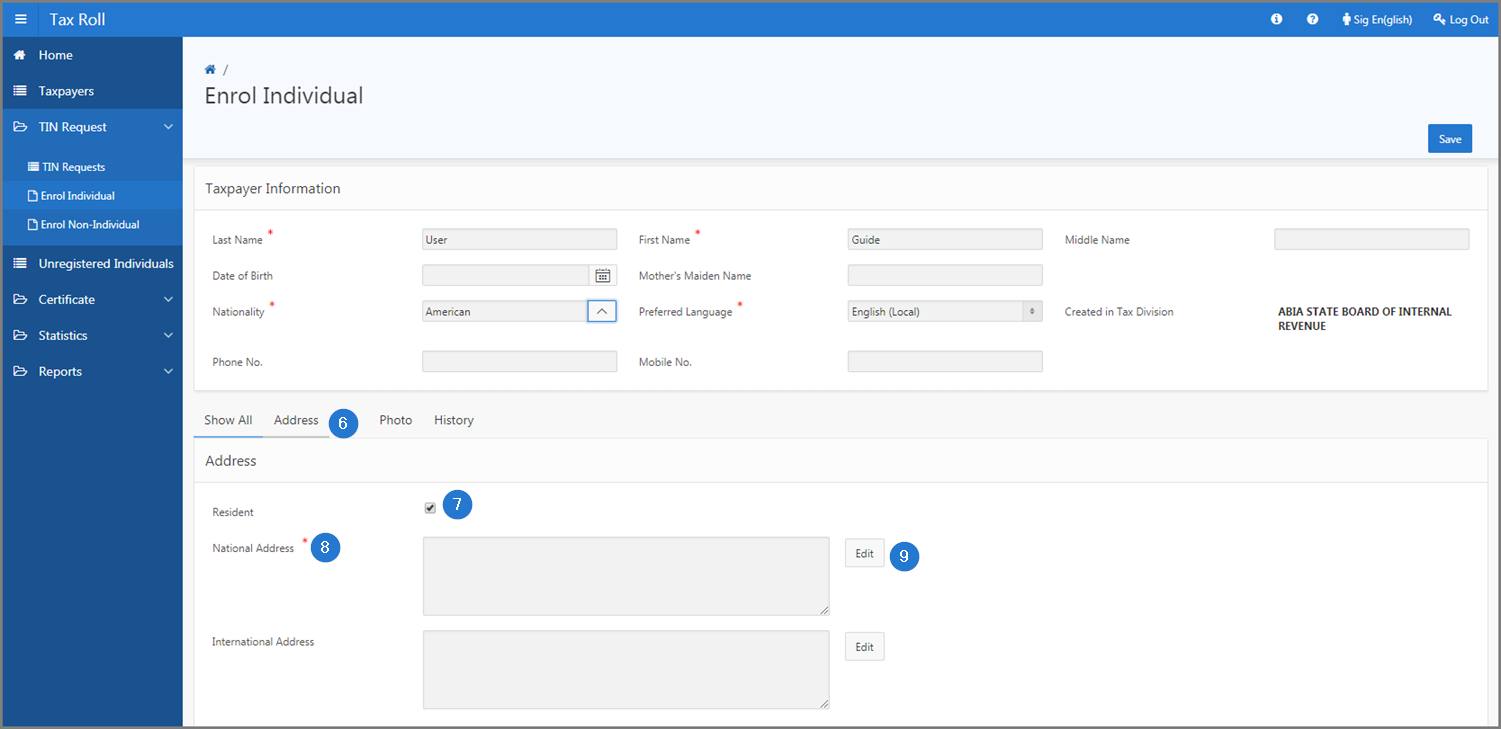
- Fill out the required fields (identified by a red asterisk *). For example, Country, Region, etc.;
- Click the Save button. This action confirms the addition of the address to the individual taxpayer and updates the Enrol Individual page (501:7002);
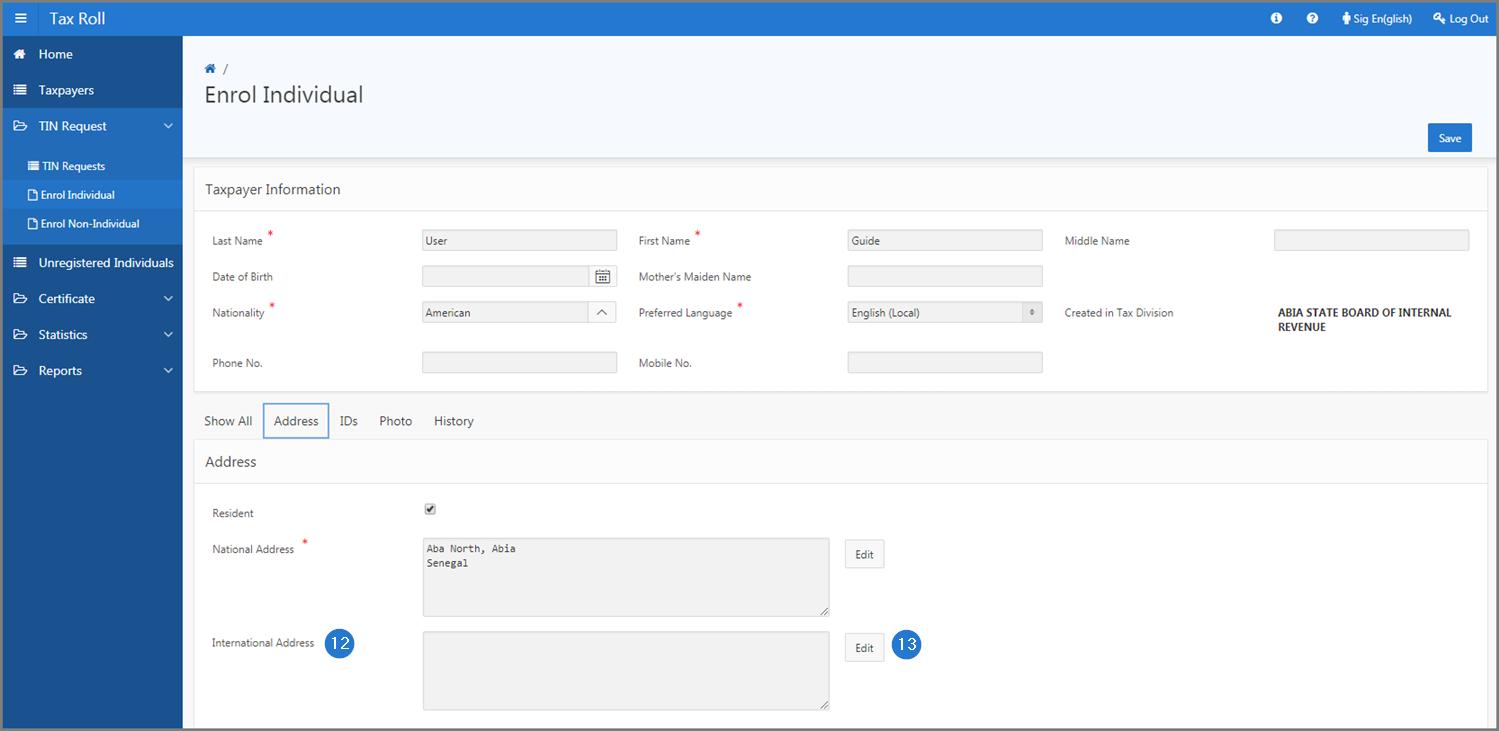
To add an international address, if necessary:
- Select the International Address option;
- Click the Edit button. This action opens the pop-up window Address (for international address);
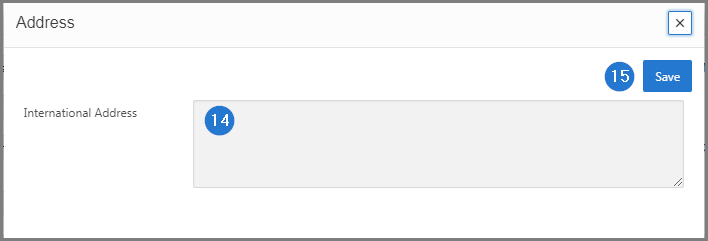
- Enter the address in the field International Address;
- Click the Save button. This action confirms the addition of the international address to the individual taxpayer and updates the Enrol Individual page (501:7002);
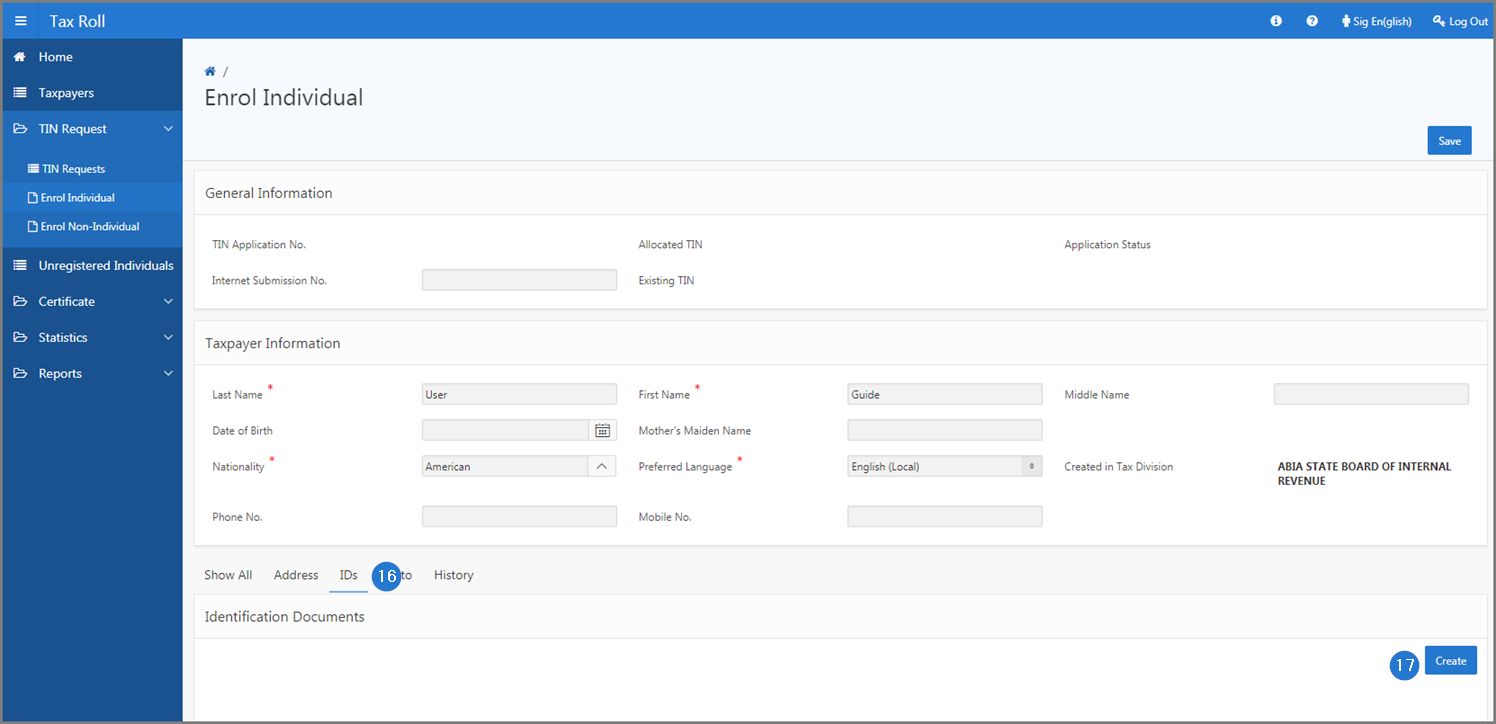
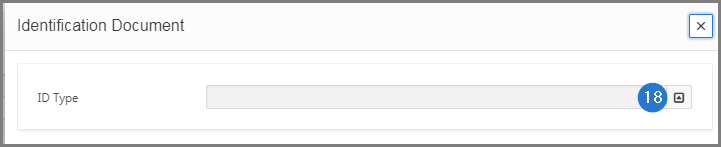
Step 4- Add an identification document
- Go to Identification Documents (IDs) section;
- Click the Create button. This action opens the pop-up window Identification Document;
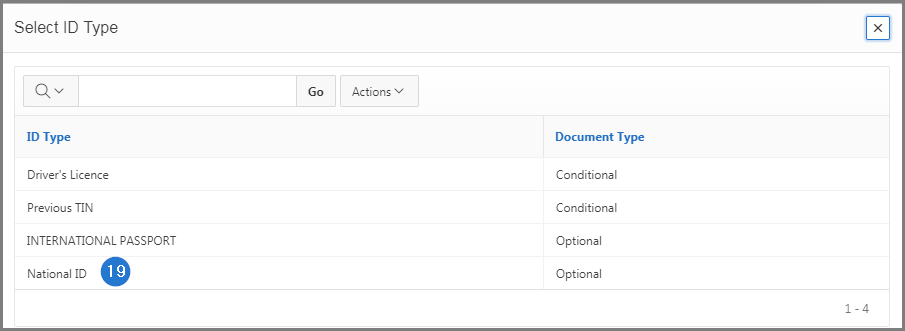
- Using the drop-down list, choose the ID Type. This action opens the pop-up window Select ID Type;
- Click on the desired ID Type. If necessary, this operation can be repeated to add a second document. This action opens the pop-up window Identification Document;
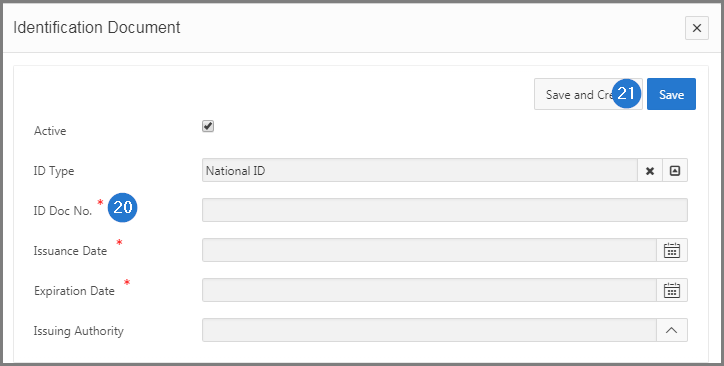
- Fill out the required fields (identified by a red asterisk *). For example, ID Doc No., Issuance Date, etc.;
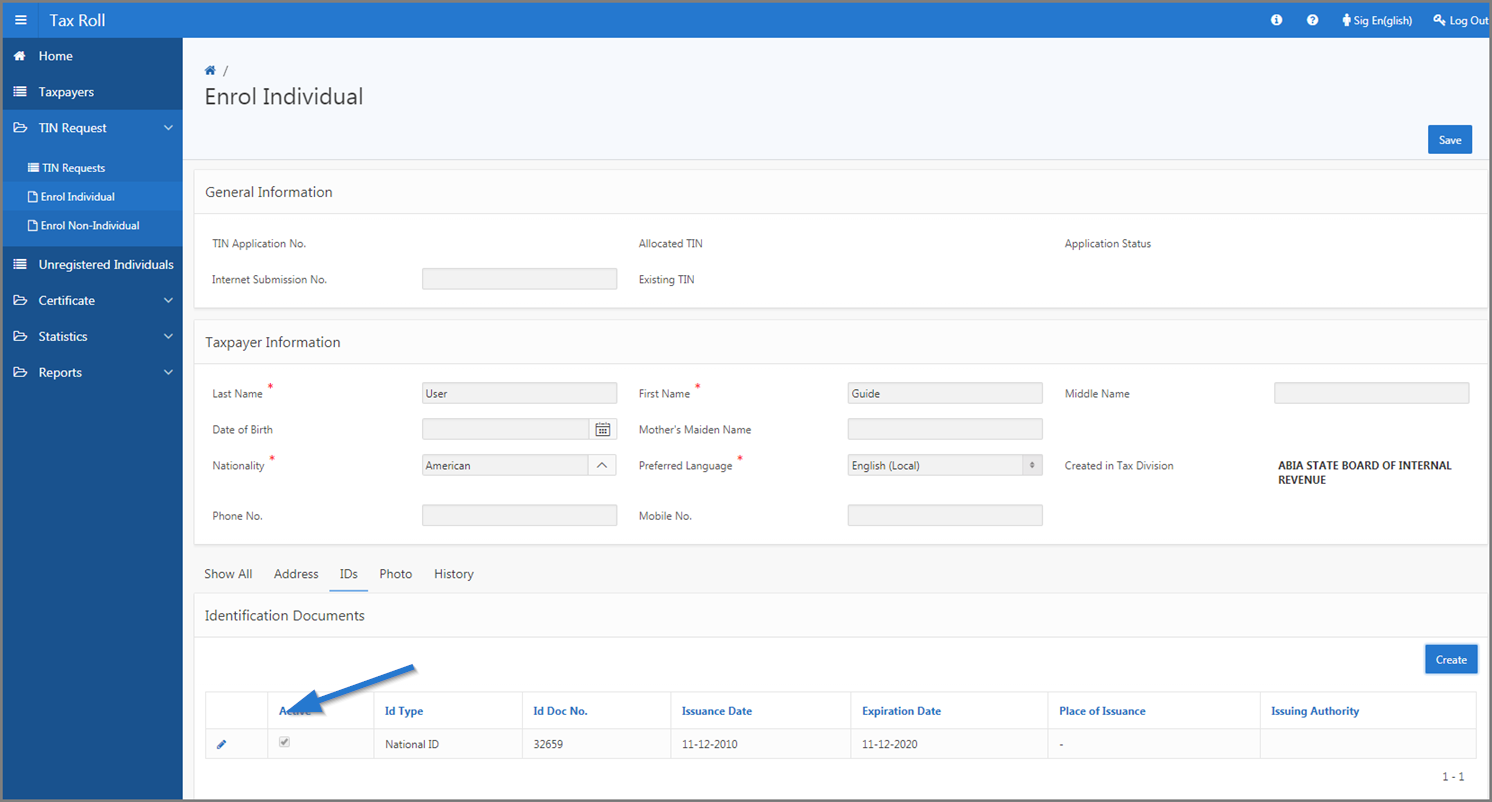
- Click the Save button. This action adds the new documents to the list in the Identification Documents section and updates the Enrol Individual page (501:7002);
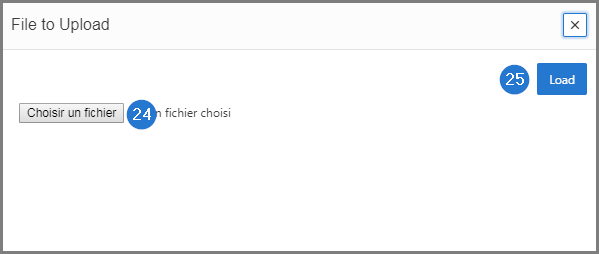
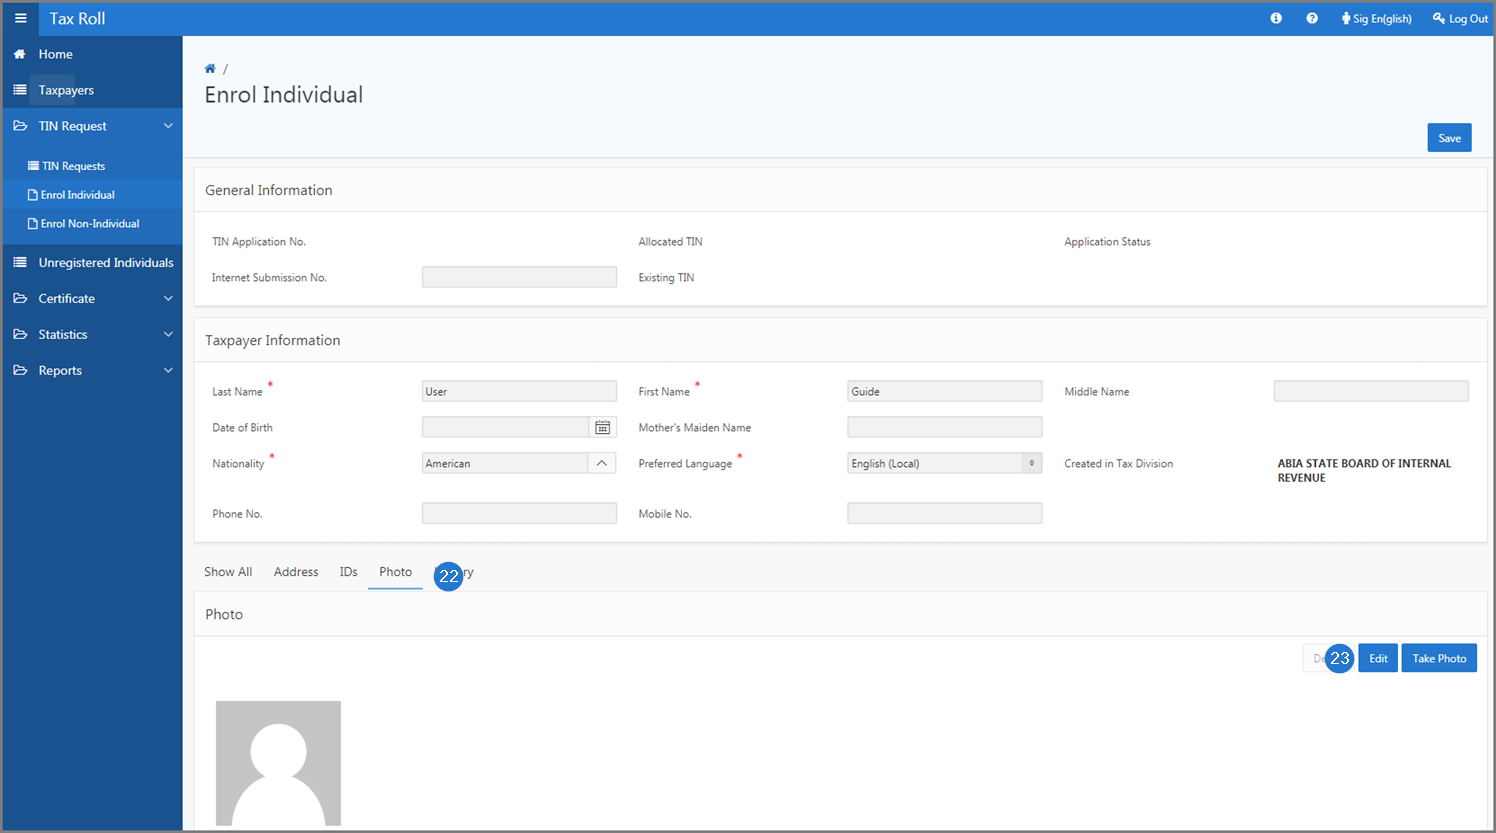
Step 5 - Add a photo
- Go to the Photo section;
- Click the Edit button. This action opens the pop-up window File to Upload;
- Click on the button to upload and choose your file;
- Click the Load button. This action uploads the photo;